How to work with Sherpa
From your first upload to the 4K version for your client, every step with the real screen next to it. The screens show an example account, click them to enlarge.
Your first render
You always start at New render in the sidebar. Your image sits on the left, the settings on the right.
- Add your image
Drop an image in the area or click to browse. JPEG, PNG or WebP, up to 20 MB. A SketchUp export or work-in-progress render is ideal.
- Nothing to hand?
Pick one of the example exports to try Sherpa on a ready-made model first.
- Interior or exterior
This choice comes first on purpose: the other settings open once you have made it.
- The render button
Always tells you what is still missing. Once the message is gone, you can render.
Choose what you want to see
With your image in place and the type chosen, you get this screen. These choices are enough for a first result, the rest can stay as it is.
- Your image
Sherpa keeps your composition and camera angle. The buttons at the top right replace or remove the image.
- What are you rendering?
Decides which base template the render starts from. A facade calls for sky and surroundings, a room for indoor light and materials.
- Time of day
Day, Sunset or Night. Exteriors also offer Sketch.
- Lighting
For daytime interiors only. Sunlight gives hard shadows through the windows, Cloudy gives even, softer light.
- Resolution
1K and 2K cost one credit, 4K costs two and is available from Pro. Start low while you are still working on the composition.
- Moodboard
Optional and for interiors only. One mood photo steers colour, material and atmosphere better than a description in words.
- Render
The button shows the cost. Once started, you jump to Renders automatically, where you can watch it run.
Fine-tune your settings
Under Advanced settings you steer the image with buttons instead of a prompt. Everything is optional: leave it alone and you get the standard result. These settings are on every plan, including a free account.
- Lighting
- Light level, the weather outside, colour temperature and whether the lamps in the image are on.
- People
- Who walks through the image. People give a space scale and life.
- Styling
- How much gets dressed: from no accessories to rich with plants, books and cushions.
- Visual elements
- Describe what each surface is made of, for example herringbone oak for the floor. Leave a field empty and it stays as it is. Add ceiling, lighting, rug and more with the buttons below.
Follow your renders
Under Renders you find everything you have made, including what is still running. No need to refresh the page.
- Filter
All, Rendering or Completed. The number next to Rendering says how many are still running.
- Rendering
The model is working on your image. This usually takes a few minutes.
- Almost ready
The render is done and arrives after the delivery time of your plan. The counter shows how long it will be.
- Versions
Change an image and it stays one card with a counter on it. Open the card to see all versions.
- Days left
How long the render stays available. In the last few days the counter turns orange, then red.
- Failed
You get your credit back automatically. Open the card to see what went wrong, or try again.
Delivery time and storage
| Plan | Ready in your dashboard | Kept for |
|---|---|---|
| Free and starter pack | Within an hour, often faster | 5 days |
| Starter | Within an hour, often faster | 5 days |
| Pro | Within about 5 minutes | 10 days |
| Studio | Instant, with priority | 30 days |
Your first three free renders arrive straight away, and renders from the SketchUp extension always skip the wait. Download what you want to keep before the storage period ends: after that we delete the image.
To delete a render, use the bin icon on the card. That removes every version of that image, cannot be undone and does not return any credits.
View the result
Click a card to open the render.
- Compare before and after
Drag the handle to put your export next to the result. The same room, the same viewpoint.
- Download
Gets the image at full resolution, ready to hand to your client.
- Versions of this image
The original, every change and every detail shot in one row. Click to switch between them.
Change and refine
Almost right is not the end. Below every finished render you find the buttons to carry on.
- Original and versions
V2, V3 and so on are your changes, oldest first. The original always stays.
- Detail shots
Listed by name in the same row: Material, Furniture, Light and Styling.
- Change this image
Change one thing and keep the rest as it is.
- Render again with these settings
Starts over from your export, with these settings already filled in.
- Create detail shots
Four close-ups from this image for 2 credits together.
- Any good?
Thumbs up or down. It costs nothing, changes nothing about your render and helps us tune the quality.
Change or render again?
These two buttons look alike but do very different things. If you want to keep the render you are looking at, always choose change.
Starts from the finished image. The composition stays, fine detail can shift slightly. Ideal for warmer light, a different floor or a bicycle that has to go.
Starts from your export. The model builds from scratch, so you get a different image, with different detail, planting and shadows.
Change one thing
- Everything starts on Unchanged
- Only pick what should be different. Apply change only works once you have actually changed something, so you never pay for nothing.
- Time, light and people
- Turn day into sunset, switch the lamps on or remove people.
- Materials
- Fill in only the surfaces that should change.
- Free-form change
- Describe one concrete change. The more specific, the better the result: remove the bicycle works better than make it nicer.
- To 4K
- Set Resolution to 4K to have the image regenerated at high resolution, from Pro. It gets sharper, but is not pixel-identical to the original.
- What it costs
- The same as the image itself: 1 credit up to 2K, 2 credits for 4K.
Detail shots
Create detail shots gives you four close-ups at 2K in the mood of the image, meant to sit next to the full view in a presentation. Together they cost 2 credits. If none of the four succeed, you get those credits back.
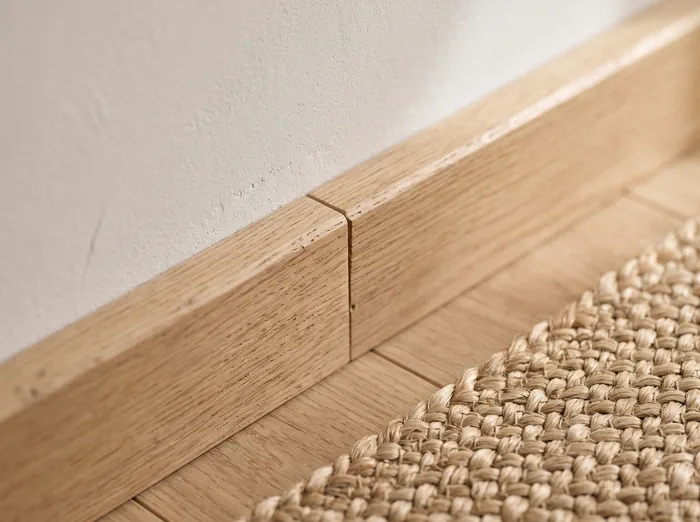 Material
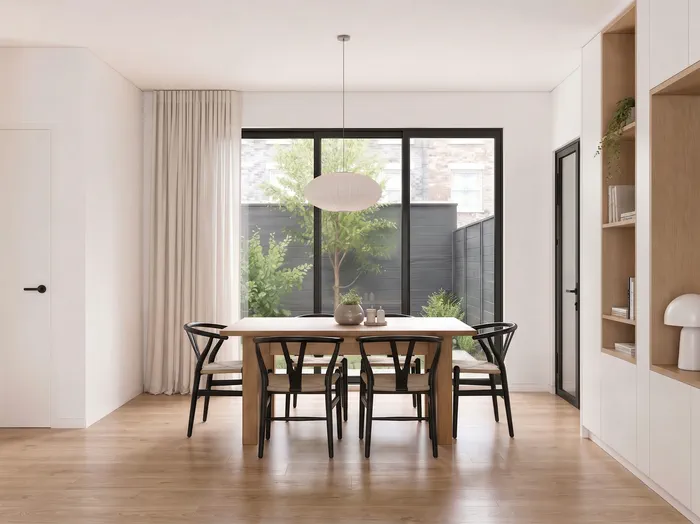 Furniture
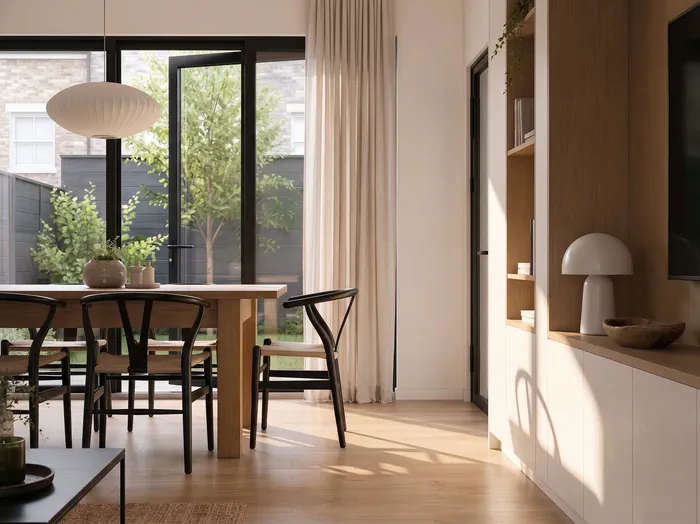 Light
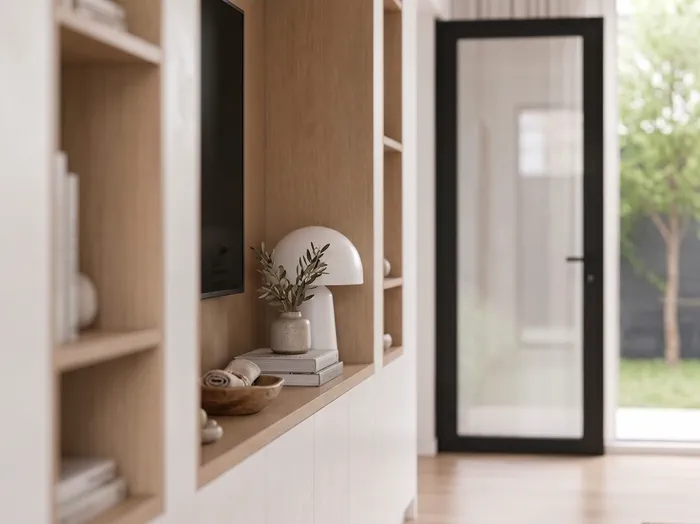 Styling
Several images at once
With Batch you render up to ten images in one go, each with its own settings. Batch is available from Pro.
- Single render or Batch
Switch between one image and a set at the top.
- Add images
Drop up to ten images into the area at once. You can see straight away how many are in the set.
- Set up each image
Type, time of day, lighting and resolution. Choose the type first: in a batch it has no default.
- Default
Applies to images you add next, so you do not have to pick the same thing ten times.
- Render all
The button adds up the credits for the whole set.
Credits and plans
You pay per image with credits. Your balance is always at the bottom left of the sidebar.
| What | Credits |
|---|---|
| Render at 1K or 2K | 1 |
| Render at 4K (from Pro) | 2 |
| Changing a render | Same as the image: 1 up to 2K, 2 at 4K |
| Upgrade to 4K afterwards (from Pro) | 2 |
| Detail shots, set of four | 2 together |
| Failed render | You get your credits back |
Starting for free
A new account gets 5 free renders, valid for 30 days and with no credit card. All settings are included, only 4K and batch are for Pro and up. Once your free renders are used up, you can carry on with the starter pack: 10 renders one time, valid for 60 days, no subscription. You can buy it twice at most.
Plans and top-ups
- Monthly or annual
An annual plan gets you one month free.
- Plans
Starter, Pro or Studio. They differ in credits, delivery time, storage period and access to 4K and batch.
- Credit top-ups
Extra credits for when your monthly allowance runs out mid-cycle. Only for active subscribers.
Current prices are always on the pricing page.
How long your credits last
- What expires first is spent first
You can see how many credits of each kind you have and until when. Find this under Settings, Plan.
- Manage plan
Takes you to Stripe for your invoices, payment method and cancelling.
- Monthly credits refresh at every renewal. What you did not use does not carry over to the next month.
- Top-up credits do not expire and stay put at a renewal.
- If your plan stops, your credits are kept, but you can only render with them again once you reactivate it.
Set up your account
Under Settings in the sidebar you arrange everything around your account.
- Profile: your name on emails and invoices. We change your email address for you, just let us know.
- Language: Automatic, Dutch or English, for the app and your emails.
- Security: choose a new password of at least 8 characters.
Render from SketchUp
If you work in SketchUp, you can skip exporting. The Sherpa extension sends your current view straight to your account, with the same settings as the dashboard.
Renders from the extension skip the wait of your plan and show up under Renders as usual. Straighten view fixes leaning verticals first.
Install and set up the extension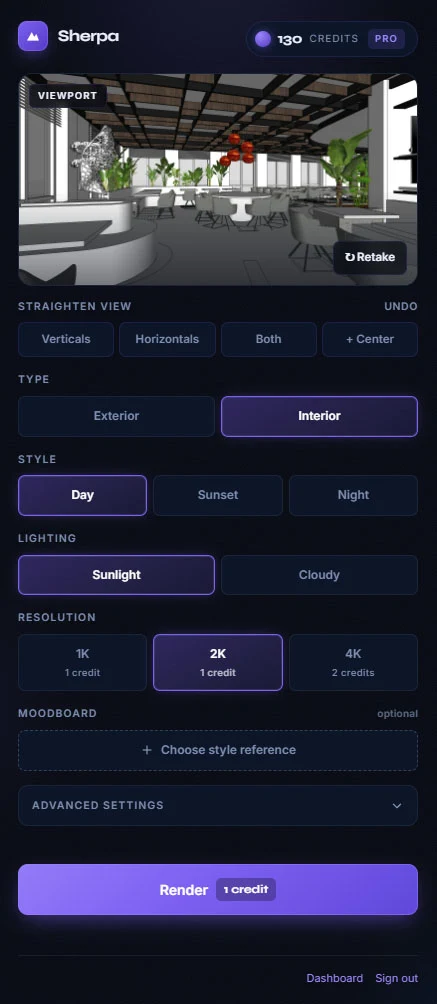
Get better results
Quality depends mostly on the image that goes in. Four things make the biggest difference:
- Set your camera angle in your 3D software: at eye level, with straight verticals. Sherpa keeps your composition.
- Describe materials under Advanced settings instead of rendering again.
- Start at 1K and only move up to 4K once the composition is right.
- For interiors, add a moodboard. It steers the mood better than words.
To go deeper, read the 7 mistakes that cost you renders or what AI rendering actually is.
Common questions
My render failed. Have I lost my credit?
No. When a render fails you get your credits back automatically and the render shows as Failed in your library. You can simply try again.
Why does my new render look nothing like the last one?
You probably used Render again with these settings. That starts from your export and builds a different image. To keep this image and change one thing, use Change this image.
How long are my renders kept?
Without a plan and on Starter 5 days, on Pro 10 days and on Studio 30 days. Every card shows how many days are left. Download what you want to keep, because after that we delete the render.
My render says Almost ready. What does that mean?
The render is done and arrives after the delivery time of your plan: on Starter and without a plan within an hour, on Pro within about 5 minutes and on Studio instantly. Your first three free renders and renders from the SketchUp extension skip that wait.
Which images can I upload?
JPEG, PNG or WebP up to 20 MB. It can be any export or work-in-progress render, from SketchUp, Revit, ArchiCAD or other software. You upload an image, not a 3D model.
Can I render in 4K or run a batch without a plan?
No, 4K and batch are available from Pro. All other settings, including the advanced ones, work on every plan and on a free account.
What happens if I cancel my plan?
Your credits are kept, but you can only render with them again once you reactivate your plan. You manage and stop your plan under Settings, Plan, Manage plan.
Can I buy credits without a plan?
Credit top-ups are for active subscribers only. If you have no plan yet and your free renders are used up, you can buy the starter pack: 10 renders one time, valid for 60 days.
Do I get an email when my render is ready?
Only if you turn it on, under Settings, Notifications. Your renders are in your dashboard either way. Email about your password, your invoices or a failed render always comes.
Is my work used to train AI?
No. Your images are never used to train AI models and you keep full ownership of what you upload and what comes out. A data processing agreement is available on request.
I forgot my password. What now?
Click Forgot password? on the login page and enter your email address. You get a recovery link that is valid for 1 hour.
Still stuck?
Send us a message, also with questions about a specific render. We usually reply within one working day.