Learn

The 7 mistakes that cost you renders

Almost every disappointing AI render starts with the source image, not with the AI. These are the seven things that go wrong most often — and what to do instead.

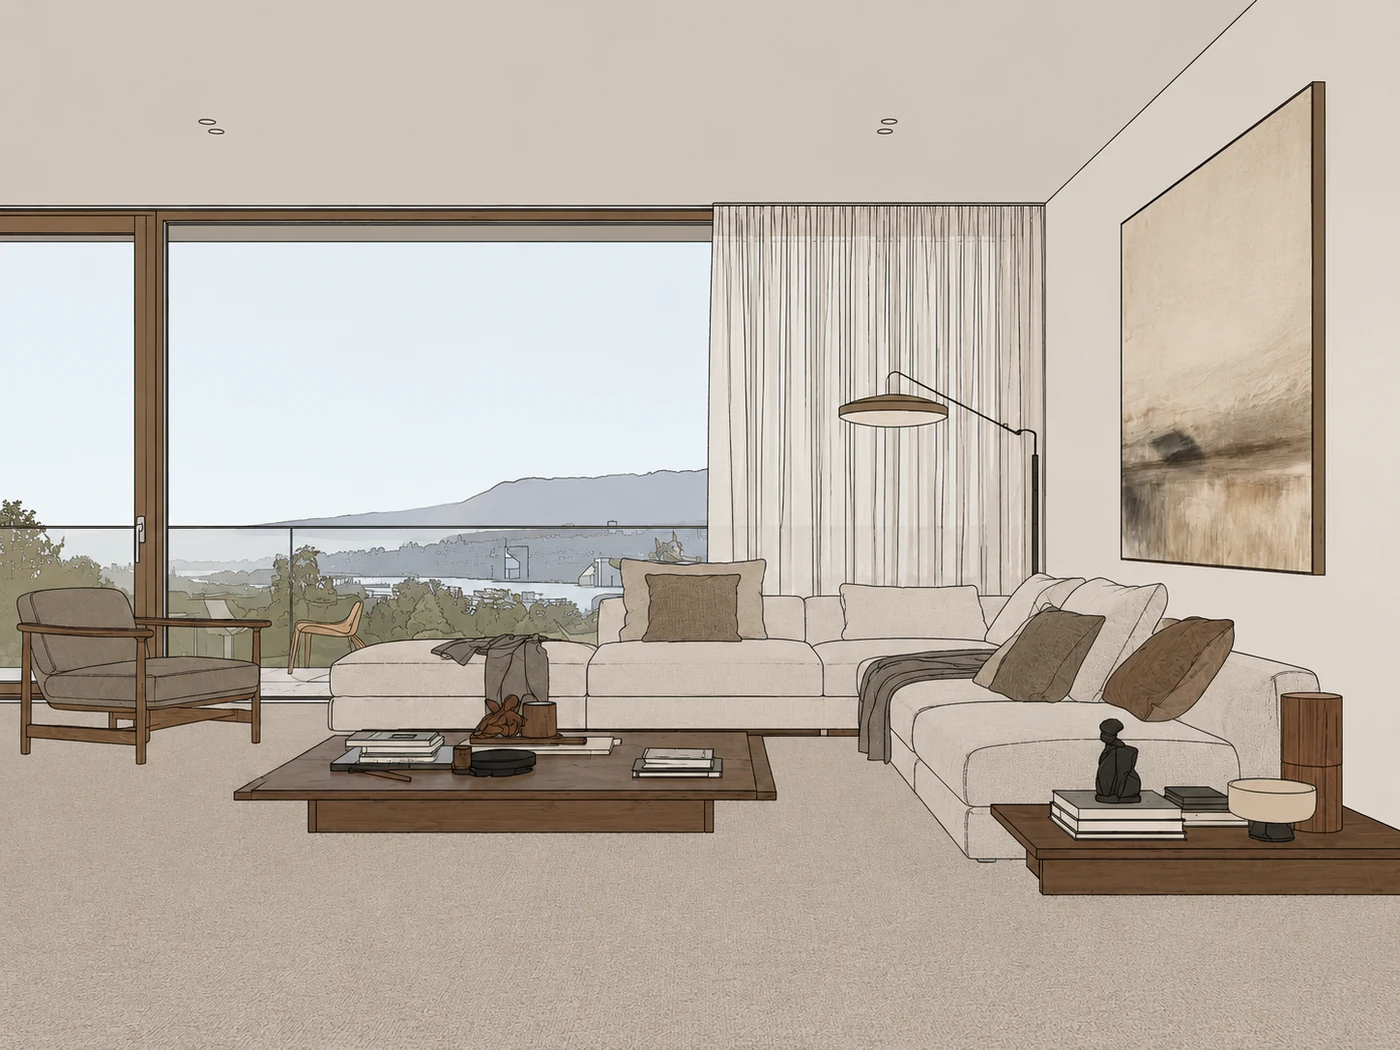
SketchUp export of a living room at eye level looking out over a lake
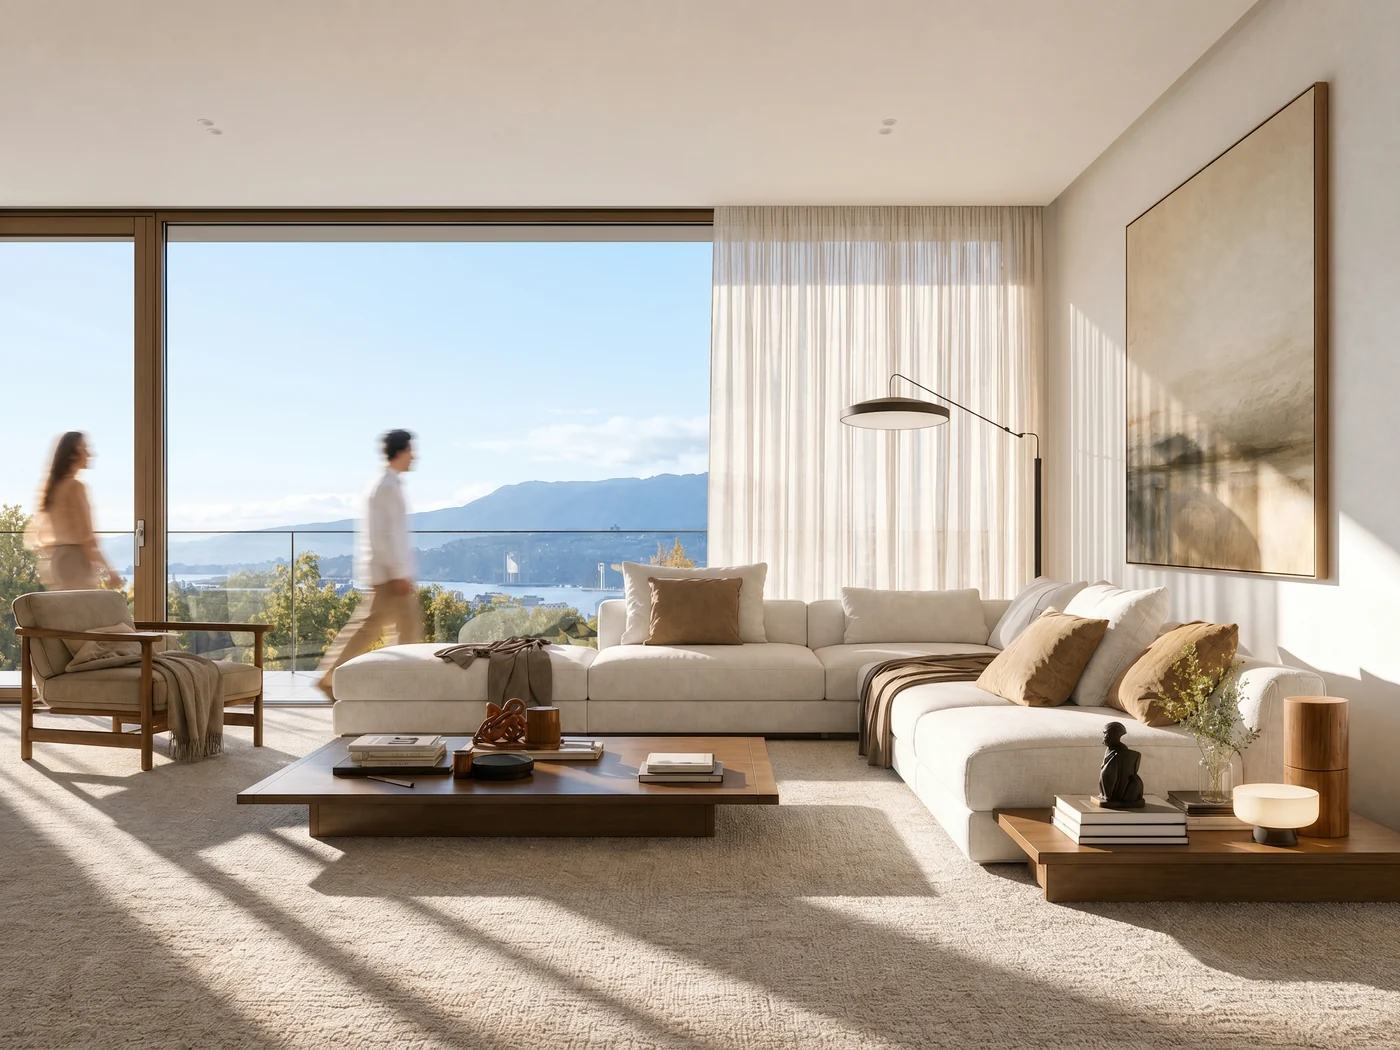
The same living room after Sherpa: daylight, textiles, styling and shadows
SKETCHUP
SHERPA
This render started as the SketchUp export on the left — eye level, straight verticals, daylight on. Drag the slider.
Mistake 1 · the big one

Your camera is set too high

Of all the mistakes this one hits the result hardest, and it is the only one you cannot correct afterwards. A lower viewpoint immediately gives you a calmer, more architectural image.

Too high

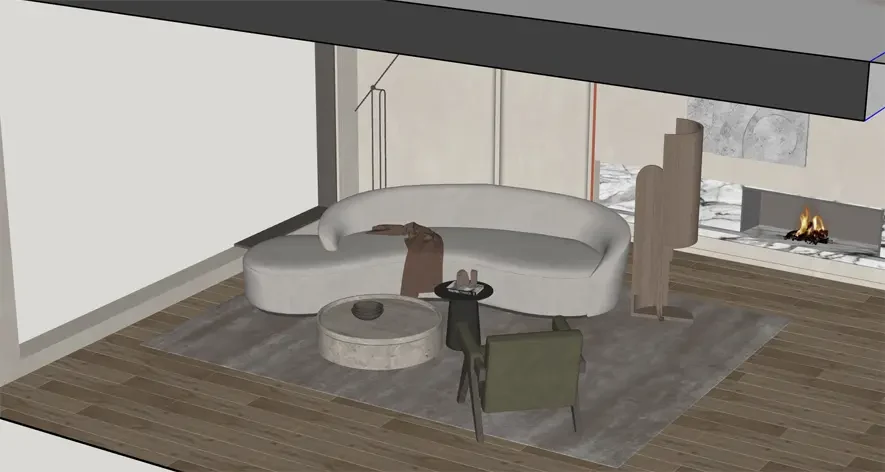
SketchUp export with the camera high above the room: the sofa flattens and the walls fall away
  • Feels less natural — nobody looks at a room this way
  • Distorts proportions: furniture flattens, heights stop reading
  • Weakens the architecture — the walls drop out of frame

Better: lower and straighter

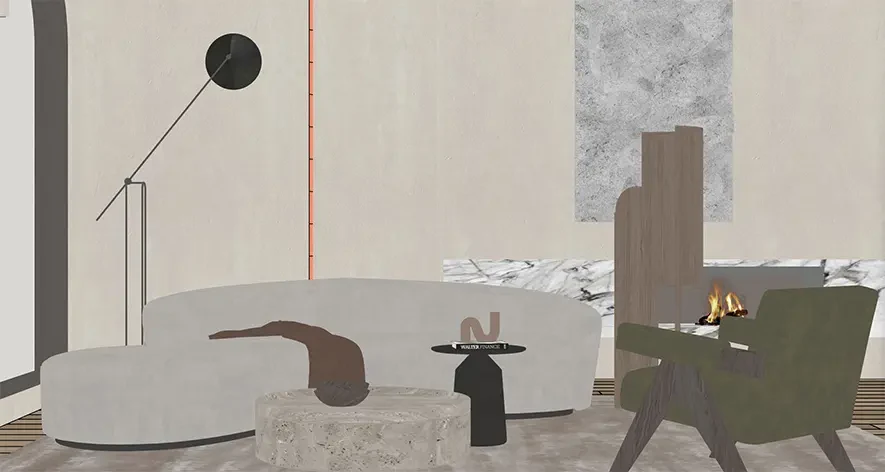
The same room from eye level: verticals straight, wall and fireplace fully in frame
  • Feels natural: eye level is how a visitor sees the room
  • Verticals stay straight, so the image reads calm
  • Your design reads better — wall, light and material are visible
Tip

Keep vertical and horizontal lines as straight as possible. In the SketchUp extension you do that with Straighten view — it costs no credits, so try it as often as you like.

And six that eat your credits

All of these take a minute to fix — before you hit Render.

Your source image is too dark

What happens In a near-black image there is no telling where the wall ends and the furniture begins.

Do this Set your SketchUp scene to standard daylight and export that. Ask for evening or night mood afterwards with the lighting control — that works better than feeding in a dark source image.
Your model has no materials yet

What happens An all-white or all-grey model gives no hints at all. Sherpa fills in something itself, and that is exactly the moment you think: this is not my design.

Do this Give surfaces at least a rough colour or material — wood, concrete, carpet. Rough is enough; it is about direction, not finish.

You upload a screenshot with your interface in it

What happens Axes, toolbars, blue selection highlights and shadowless silhouettes all end up in the render.

Do this Export your viewport as an image, or render straight from the SketchUp extension — it captures the viewport only, no interface.

You start at 4K

What happens 4K costs two credits. While you are still searching for the right mood you pay double for images you throw away anyway.

Do this Find the composition and the mood at 2K. Happy with the image? Upscale it to 4K afterwards — available on every successful render.

You re-render instead of steering

What happens Running the same render again gives you a different image, but not necessarily the image you wanted. Every attempt costs a credit.

Do this Mood almost right? Use “edit this image” and describe what should change. Base not right? Go back to your export and fix it there.

You judge on one render

What happens A single image says little. One detail you dislike and you write off the whole thing.

Do this Count on three images from different scenes before you decide. That is what your free renders are for — feel free to spend a couple of them.

Run through this before you upload

Five rules. Get them right and the same five free renders take you considerably further.

  • Camera at eye level, verticals straight
  • Daylight on, no black image
  • Materials roughly assigned
  • No interface in frame
  • 2K first, 4K later
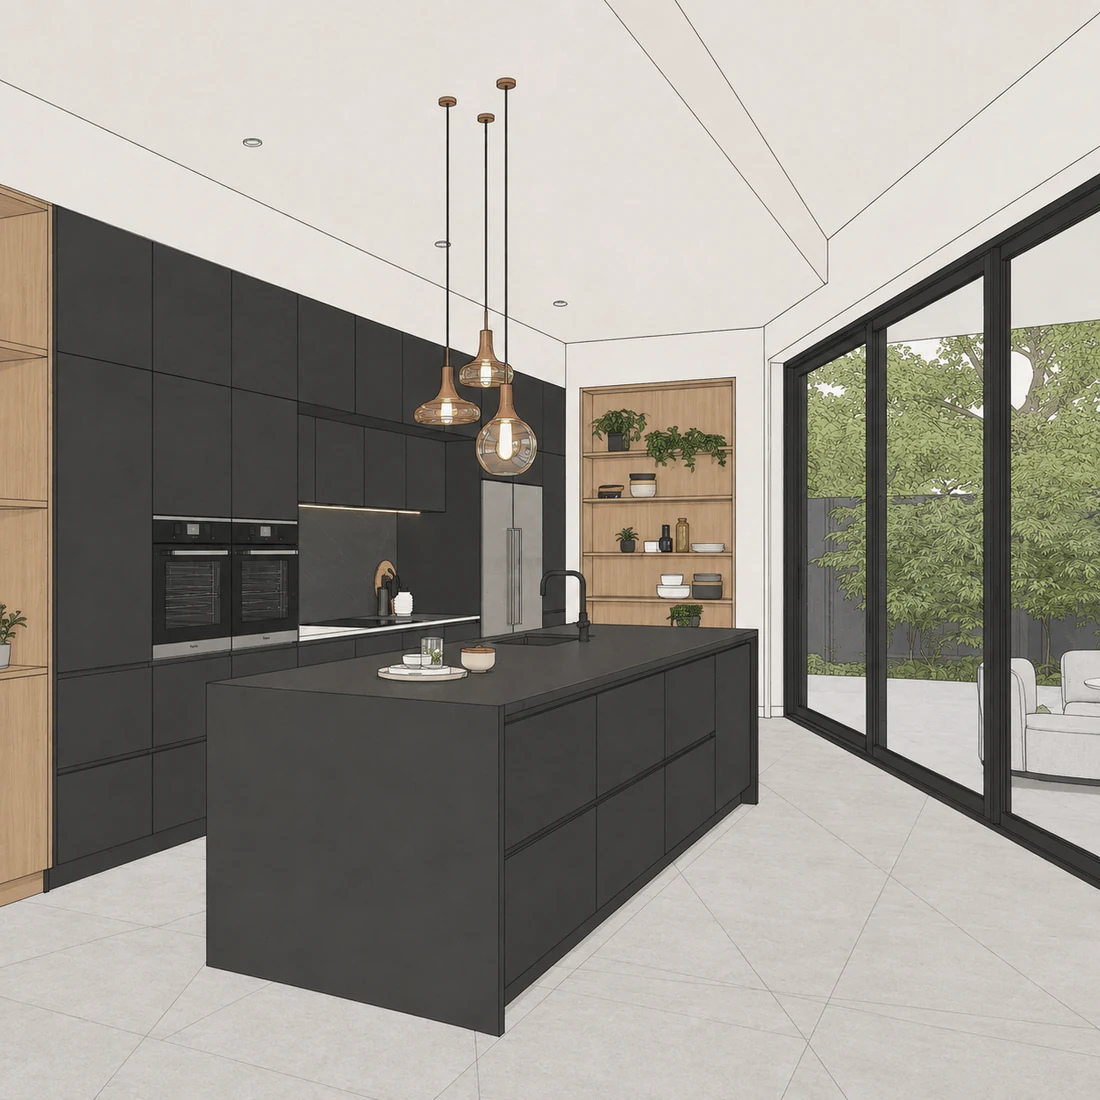
SketchUp export of a kitchen with dark fronts and an island
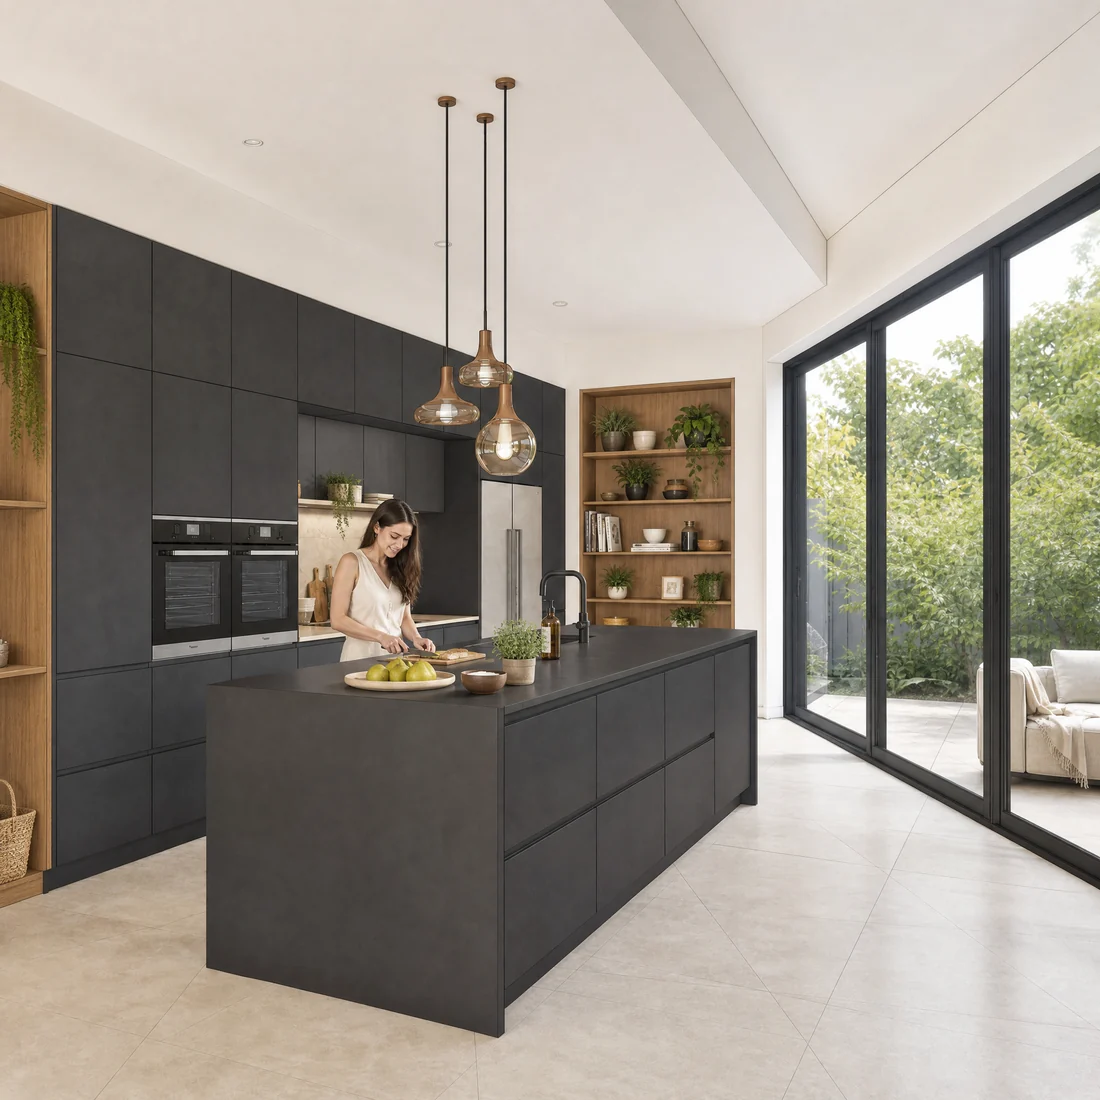
The same kitchen after Sherpa: soft daylight, material and styling
SKETCHUP
SHERPA
An export that meets all five rules, and what Sherpa makes of it. Layout, furniture and viewpoint stay the same.

And that is not the end of it

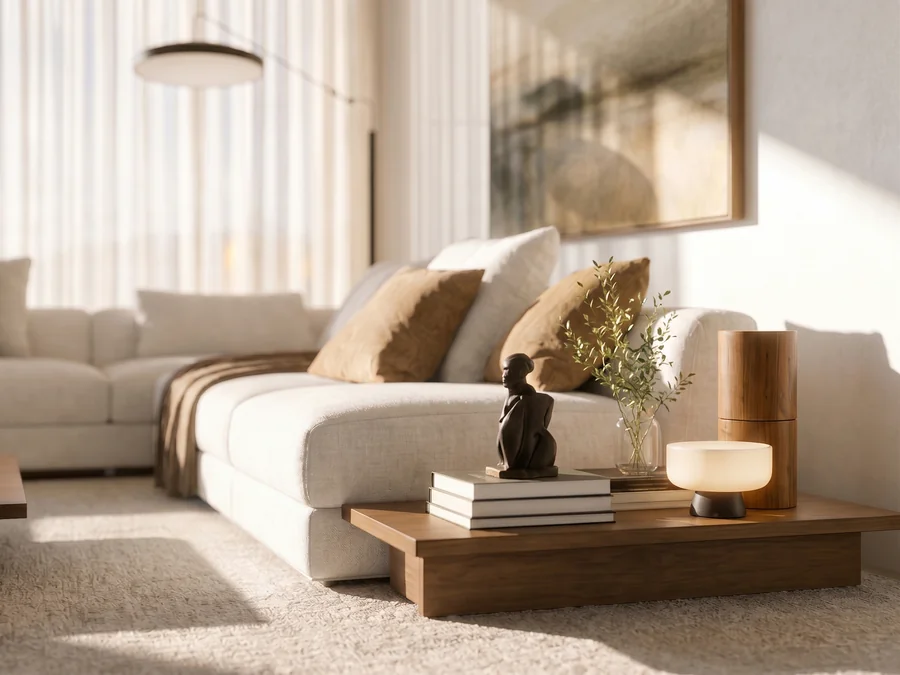
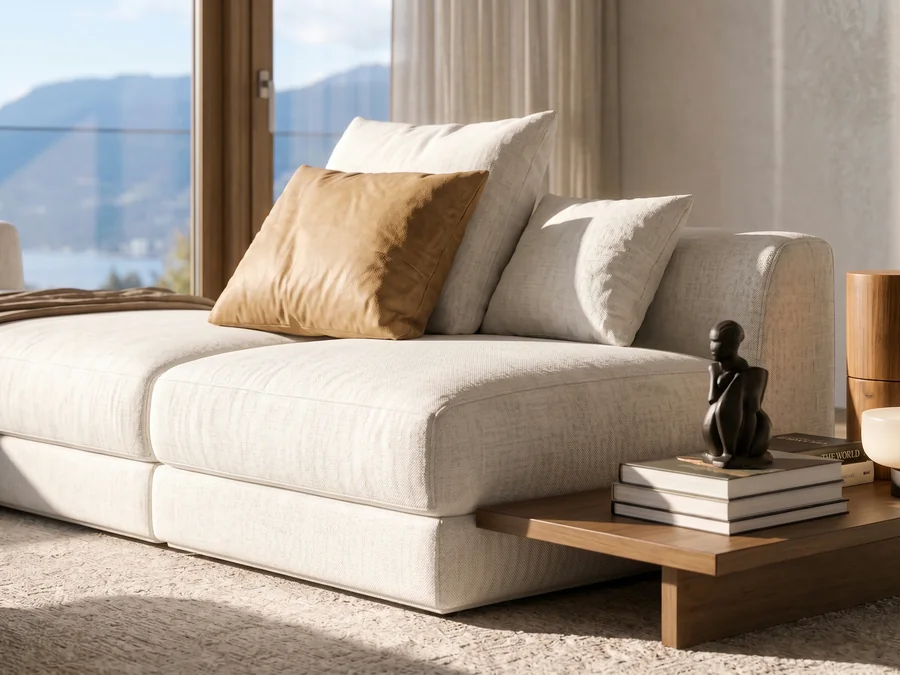
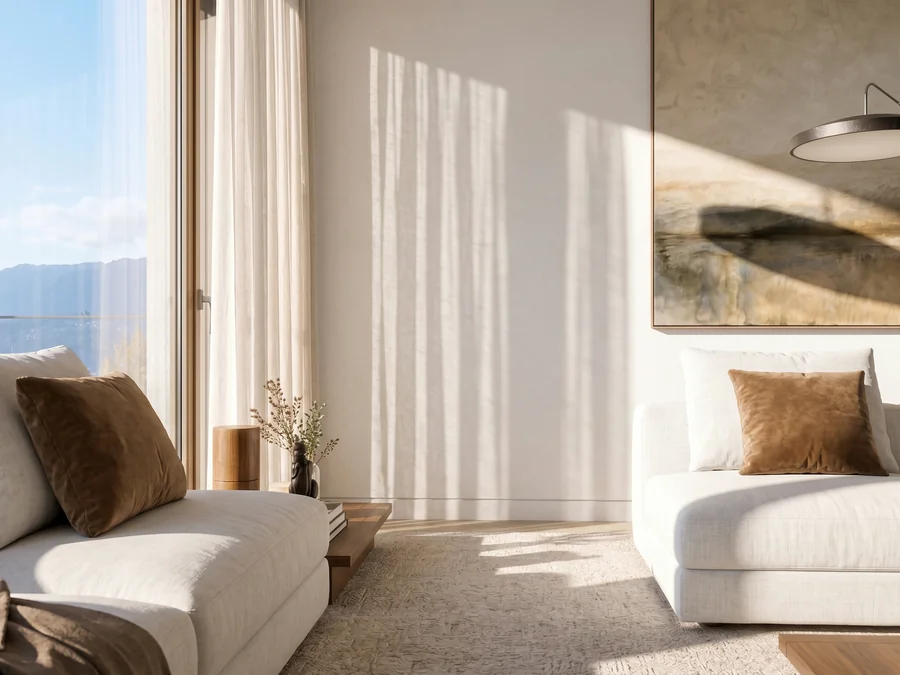
Mistake 5 again, but the other way round: from a successful image you keep working instead of starting over. Four detail shots from this same image — 2 credits together, without re-rendering.

Detail shot of the styling: books, vase and accessories on the coffee table
Styling
Detail shot of the furniture: the sofa with cushions and throw
Furniture
Detail shot of the light: sunlight falling through the curtain onto the sofa
Light
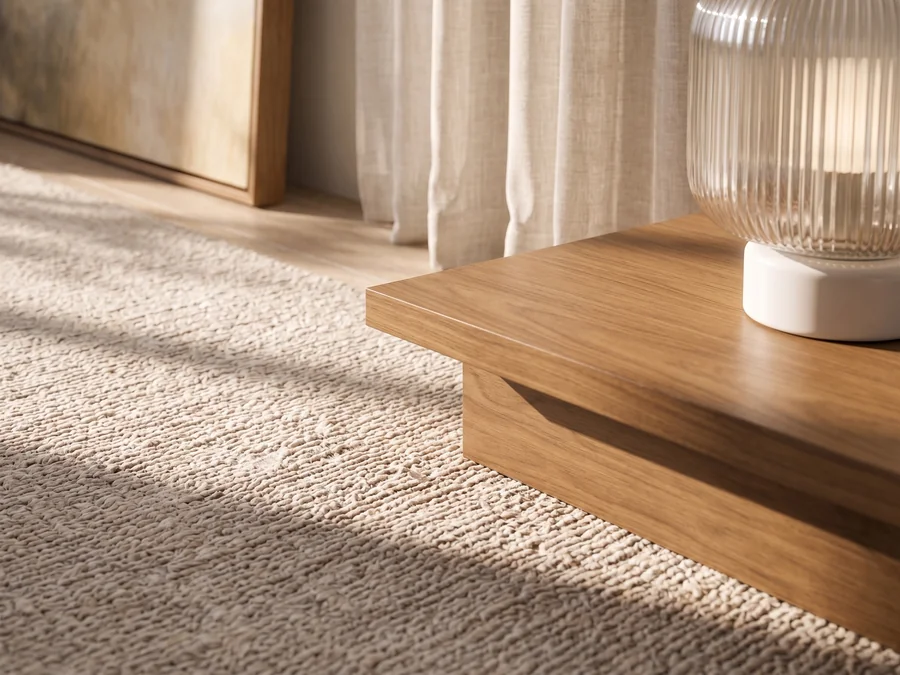
Detail shot of the material: the weave of the rug and the wooden table top
Material

All four come from the render above. No new export, no second attempt.

Frequently asked questions

What makes a good source image for an AI render?

An export at eye level with straight verticals, standard daylight and roughly assigned materials. The image does not need to be finished — it needs to be readable: what is wall, what is floor and what is furniture has to be visible.

Why does my render not look like my design?

Usually because the source image carries too little information. With a white or grey model without materials the AI fills in material and mood itself. Give your surfaces a rough colour or material and the result stays much closer to your design.

Does a failed render cost a credit?

A render that fails technically costs you nothing — that credit comes back. A render that succeeds but you do not like does cost a credit. Which is why it pays to check your source image before you hit Render.

Should I render at 4K right away?

No. 4K costs two credits instead of one. Find the right composition, mood and styling at 2K first, then upscale to 4K once it is right.

How do I straighten my camera angle?

In the SketchUp extension you do that with Straighten view: choose Verticals, Horizontals, Both or + Center. Sherpa moves your camera and takes a fresh capture. Straightening costs no credits.

More background: what AI rendering is · rendering from SketchUp

Try it on a good source image

Five free renders, no credit card. With an export that meets the five rules you see straight away what Sherpa is for.